Hello. Are you struggling with perspective and/or making a perspective grid? Well today, I am going to teach you how to make an EASY perspective grid in Adobe Photoshop CS6.
- Open (if you have Photoshop) Photoshop
2. Make any size document you want.
3. Draw a nice straight line in the middle of the canvas or wherever you want it. That'll act as your horizon line!
Horizon Line: The Horizon Line (in Perspective) is the level at where your eyes are focusing. For example
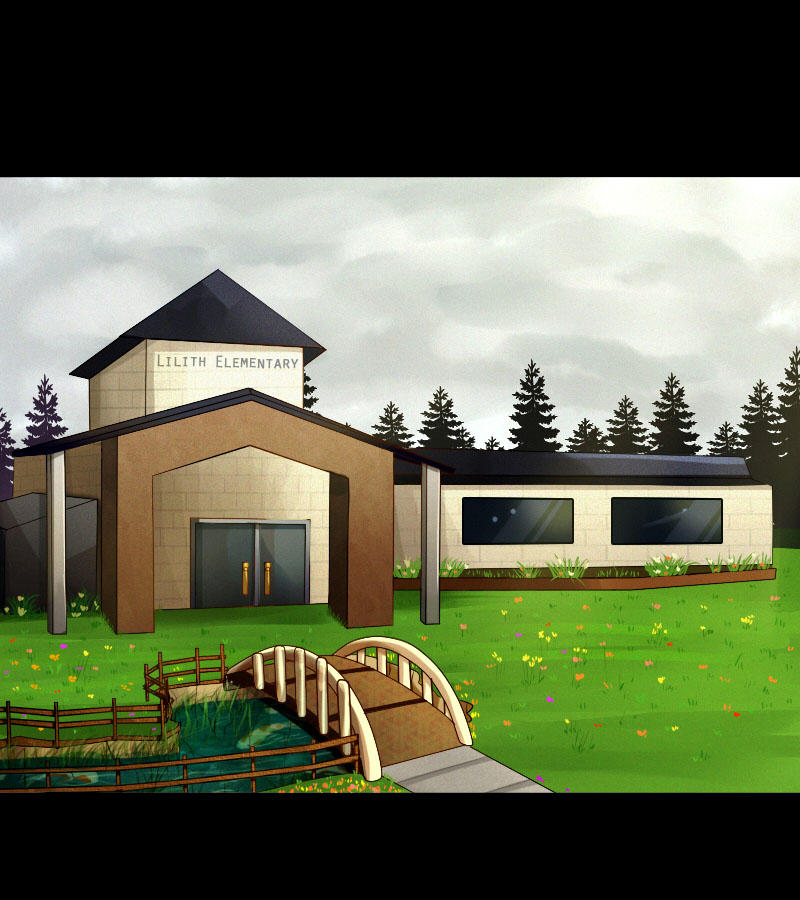
As you can see with this photo, the middle area of the photo is the Horizon Line and you cannot see anything else past it. It's where your eye level is at currently as the clouds above is basically the Worm's Eye View while looking at the road below you is a semi Bird's Eye View.
Here is a line I drew in the middle of the canvas on Photoshop. As you can see, that is the Horizon Line currently.
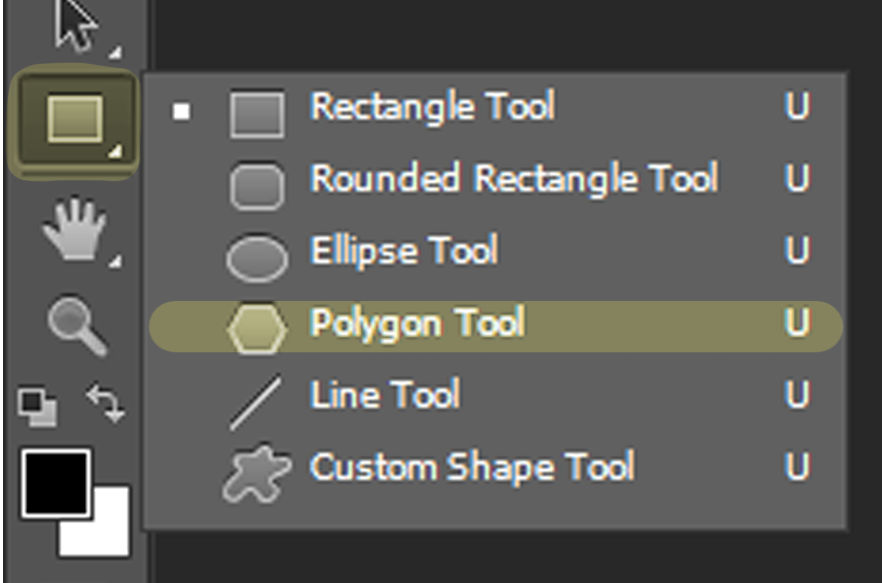


4. Use the Polygon Tool
This is a very IMPORTANT part of making the perspective grid.
- Go to the Rectangle Tool next to the Path Selection Tool and right click (or click the tiny triangle) and you'll see different options. Click the Polygon tool!
5. Make sure you're on the right settings.
Now when using the Polygon Tool, you need to make sure you have the right settings.
- Make sure you are on Shape. The Shape act as a Vector which means adjusting it will keep the same pixels as you transform it. You can also choose path or pixels, but shape is the most recommended.
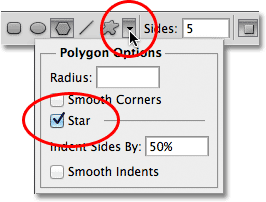
- Look for the Gear icon on the tool bar after clicking the Polygon Tool.
- Click on the gear's tiny triangle and then you will see different options to choose. Choose the star option.
- Note
 , on older versions on Photoshop, the gear doesn't exist. To find the box with the star option, click on the upside down triangle and then you will see the option to change it.

- Be sure you have your stroke and fill on and both with the same color. You can also have any thick line size you want. I would recommend using 1-3pt if you want to see your lines nice, thin, and easy to see.


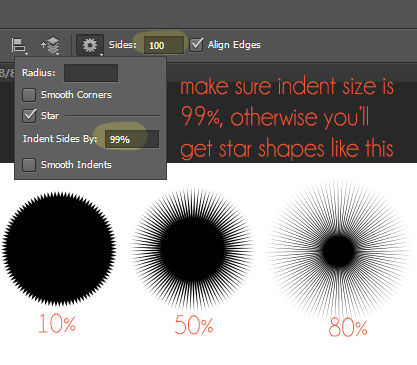
- Change the sides to 100. That way you can have the most lines possible to create a good looking grid. You can have the option to have less lines.
- Change the indent size to 99%. It cannot go any higher than 99%.
- As the picture says, make sure the indent size is at 99%, otherwise your indent size will create a thicker middle section and the lines will not be straight out thin.
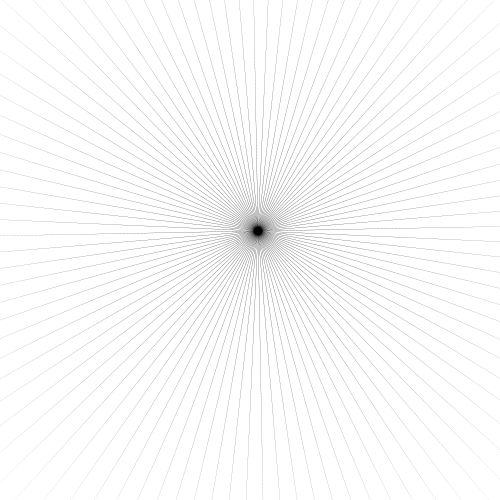
- Once it's at 99%, you'll get lines that look

As you can see, the middle area is a very small circle. That can aid you when making a perspective grid.
Drag your mouse on the horizon line wherever you want the dot to be. That will act as your vanishing point.
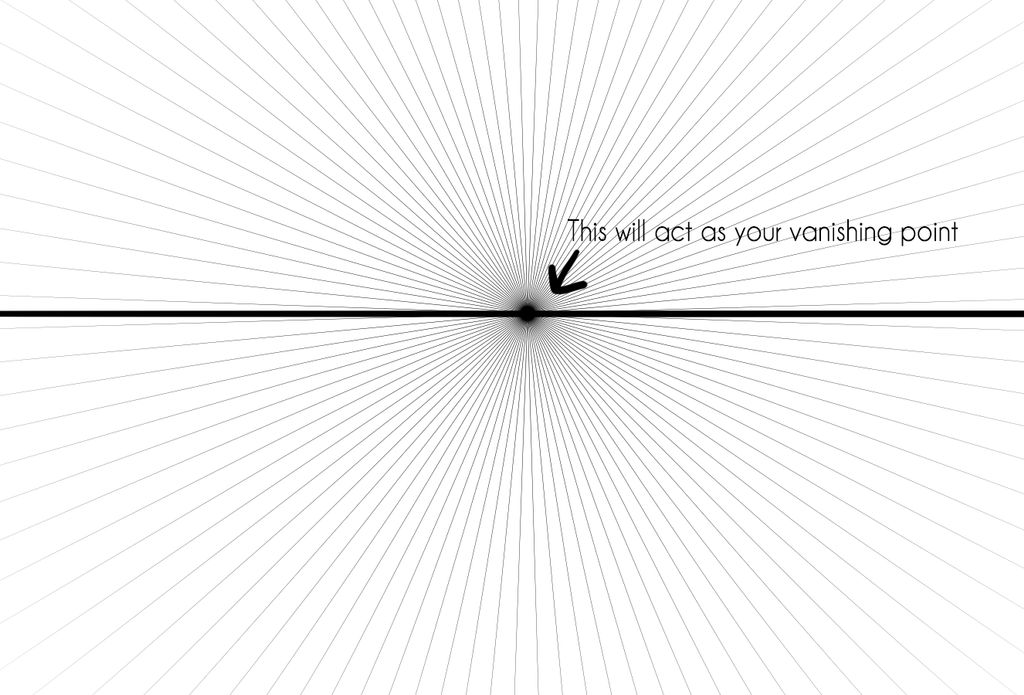
NOW YOU HAVE AN EASY ONE-POINT PERSPECTIVE GRID! But what if you want a Two-Point Perspective Grid?
This process is actually very easy!

Here's an example of what I drew with the grid!
You can duplicate one of the layers of the polygon and move it over the canvas or under it. And you'll get this in the end
5. Now to make the perspective grid
- Let's make a One-Point Perspective Grid first
Drag your mouse on the horizon line wherever you want the dot to be. That will act as your vanishing point.
NOW YOU HAVE AN EASY ONE-POINT PERSPECTIVE GRID!
- Making a Two-Point Perspective Grid
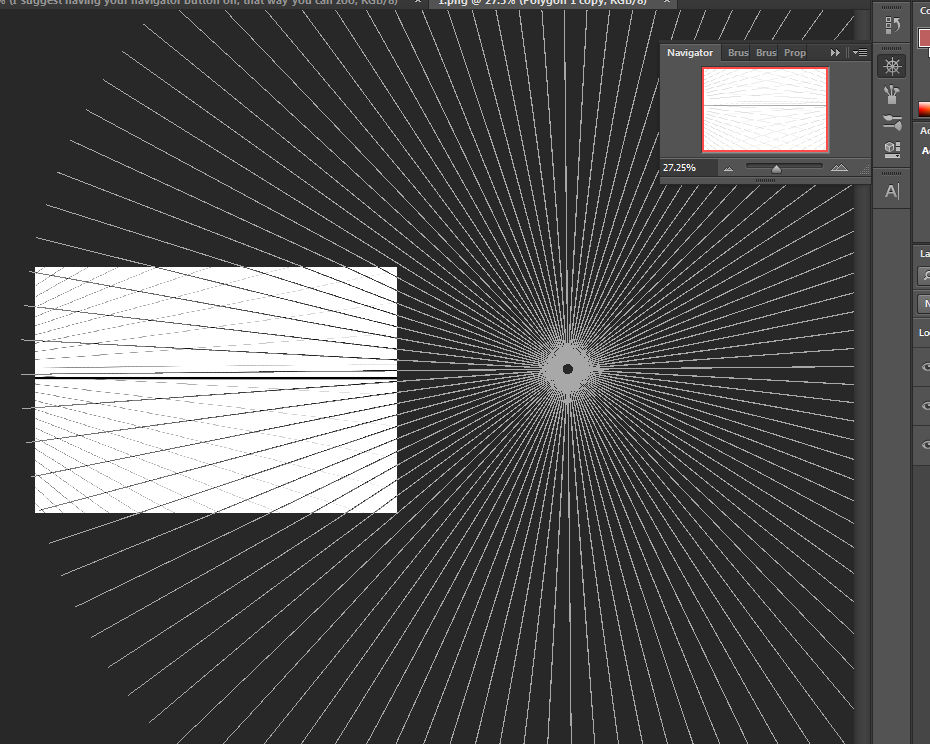
This process is actually very easy!- Zoom out your canvas (if you're close to canvas) so that you can see the negative space out of the canvas. You can either use the Navigator Icon or the Magnifying Glass to Zoom out.
- Luckily the Shape Vector can help you see where your lines are at.
- Drag your mouse to create lines that can fill the canvas far from the canvas.


- Duplicate your polygon using Ctrl J and press the shift tool to move the layer straight to the other side of the outside space of the canvas to make the lines connect.
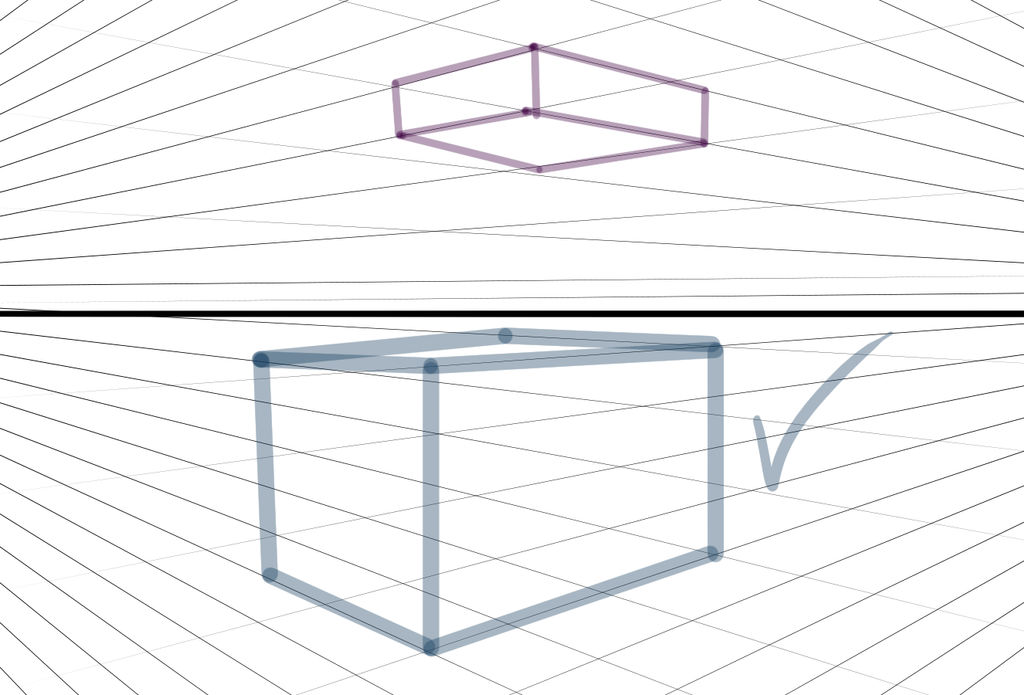
Now that you have a Two-Point Perspective, you can create perspective boxes and triangles and many more shapes
Here's an example of what I drew with the grid!
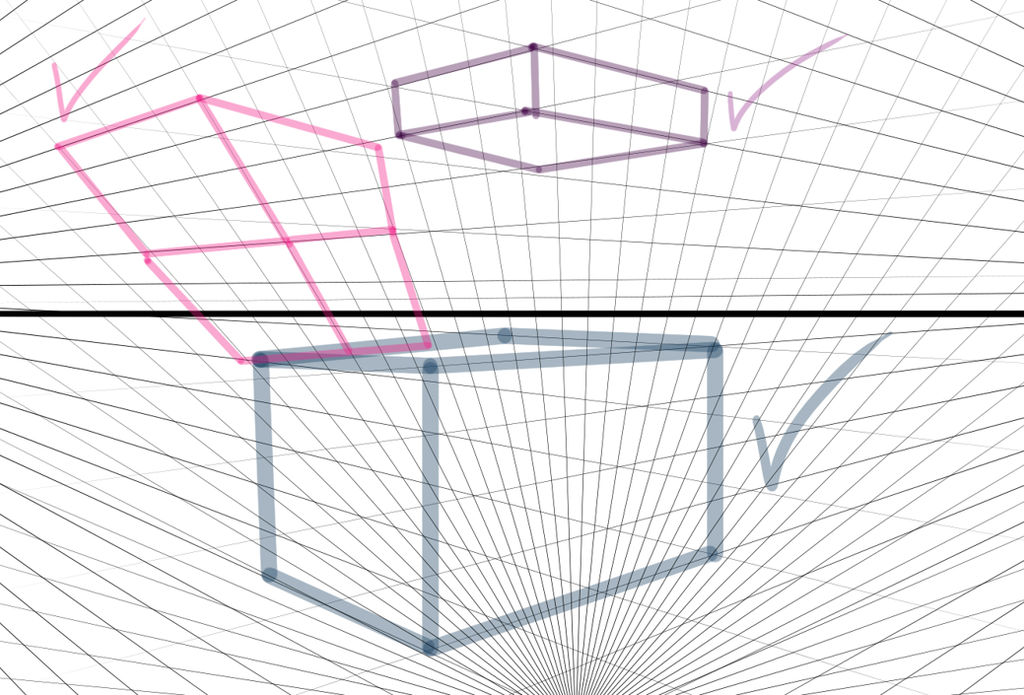
WHAT ABOUT 3-POINT PERSPECTIVE?
You can duplicate one of the layers of the polygon and move it over the canvas or under it. And you'll get this in the end


